This tutorial is part of a series of training materials. Visit the table of contents for more tutorials.
Uploading an Image
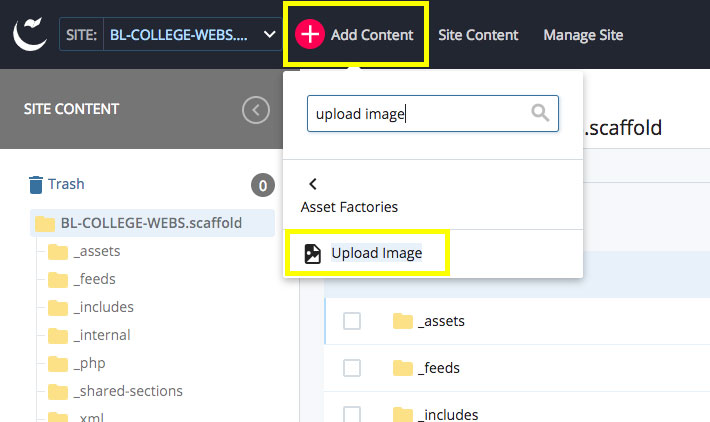
Step 1
Click on the Add Content button near the top left of the screen, and then click Upload Image.
- You can find a complete list of image sizes used by the framework at https://framework.communications.iu.edu/image-docs/index.html.
Step 2
Edit your File Name, which is the file name the WCMS will use to refer to your image.
- Remember to always use lowercase letters, hyphens instead of spaces, and no special characters. Like pages, the WCMS uses your image's File Name in the URL.

Step 3
Choose a Placement Folder, or the folder into which the WCMS will save your image.
All images on your site should be placed in the /images folder (or a sub-folder within).
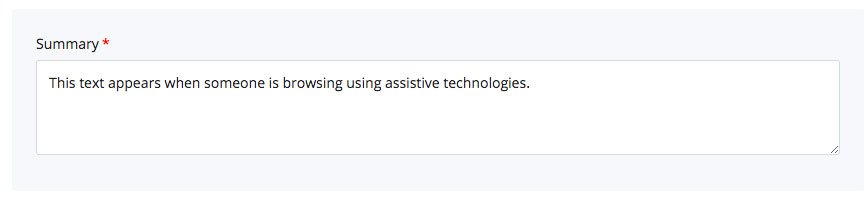
Step 4
Add a short Summary of the image. This is required because it allows users using assistive technologies like screen readers to understand the image's content.
Step 5
Click on Choose and find the image on your computer that you want to upload.
You can also drag and drop an image from your computer into the dashed box.

Step 6
Click Submit and your image will be uploaded to the WCMS.
 The College of Arts