This tutorial is part of a series of training materials. Visit the table of contents for more tutorials.
Uploading a Document
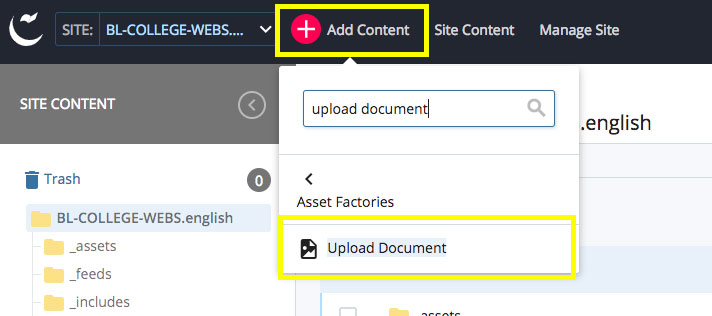
Step 1
Click on the Add Content button near the top left of the screen, and then click Upload Document.
Step 2
Add a File Name for your document or leave the field blank.
If you leave the field blank, the name of the document you upload will be added as the File Name.
- Remember to always use lowercase letters, hyphens instead of spaces, and no special characters. Like pages and images, the WCMS uses your document's File Name in the URL.
Step 3
Choose a Placement Folder, or the folder into which the WCMS will save your document.
All documents on your site should be placed in the /documents folder (or a sub-folder within).

Step 4
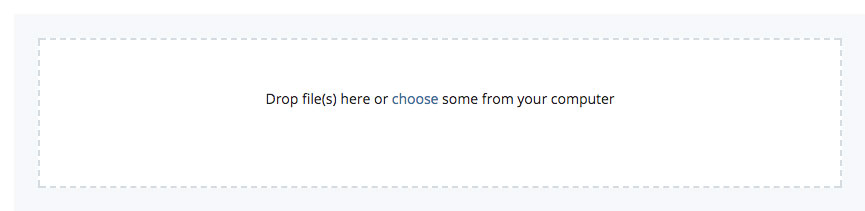
Click on Choose and find the document on your computer that you want to upload.
You can also drag and drop a document from your computer into the dashed box.
Step 5
Click Submit to upload your document to the WCMS.
 The College of Arts