This tutorial is part of a series of training materials. Visit the table of contents for more tutorials.
Signing In
Step 1
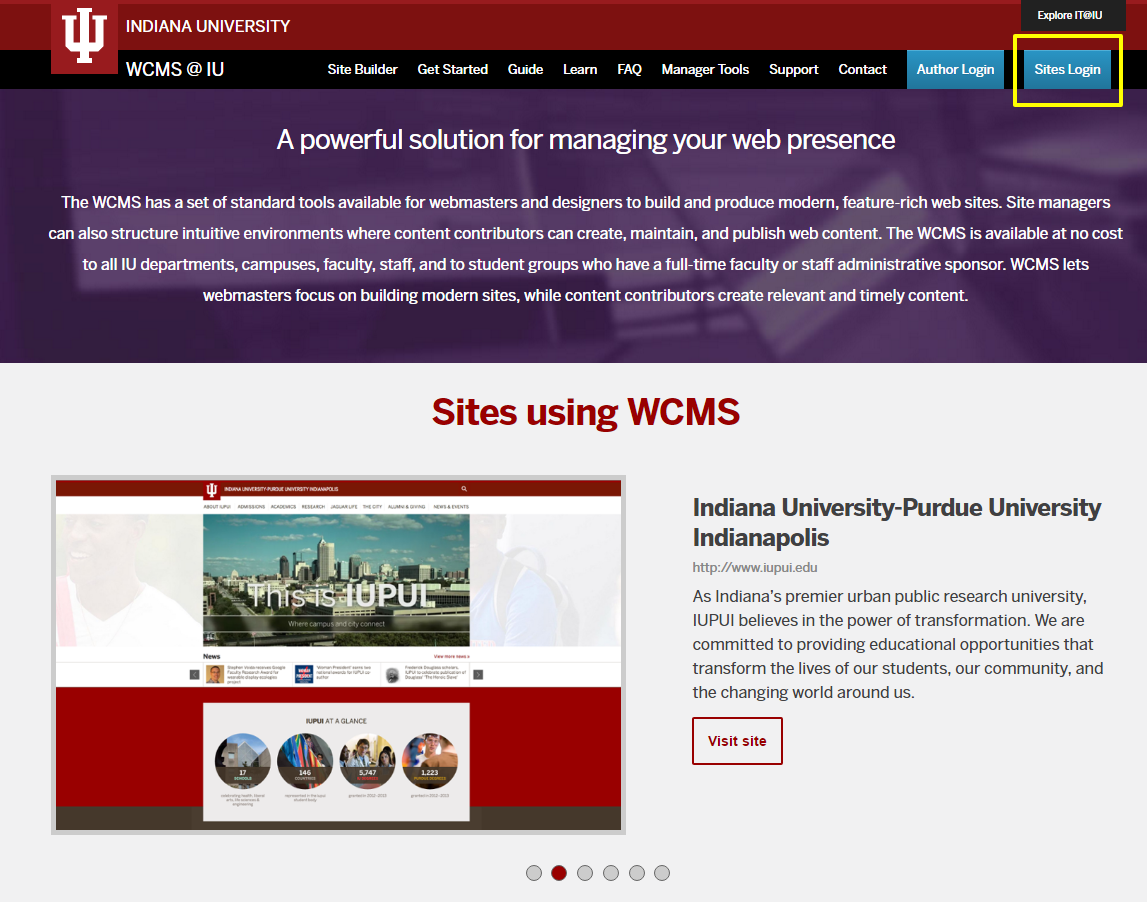
Open your browser and go to the WCMS information page. You can use any browser.
Step 2
Click on the "Sites Login" button at the top right of the page.
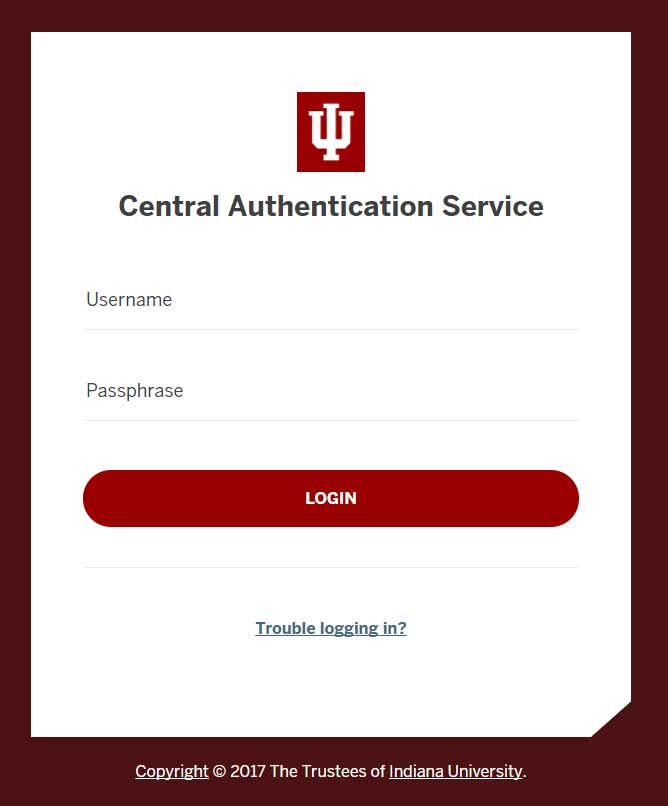
Step 3
Sign in using your CAS username and passphrase.
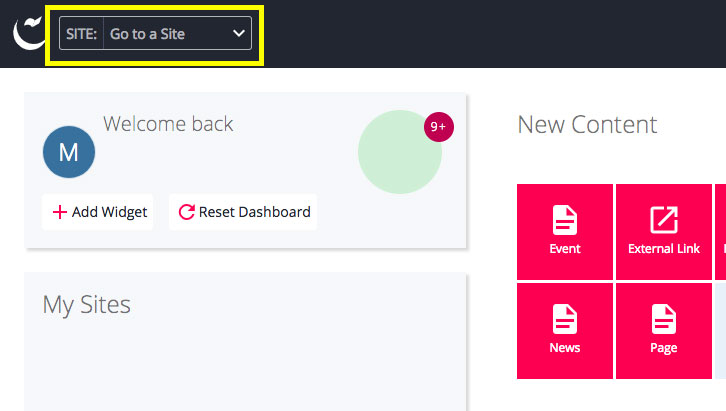
Step 4
To find the website you want to work on, go to the SITE: dropdown menu at the top left of the page.
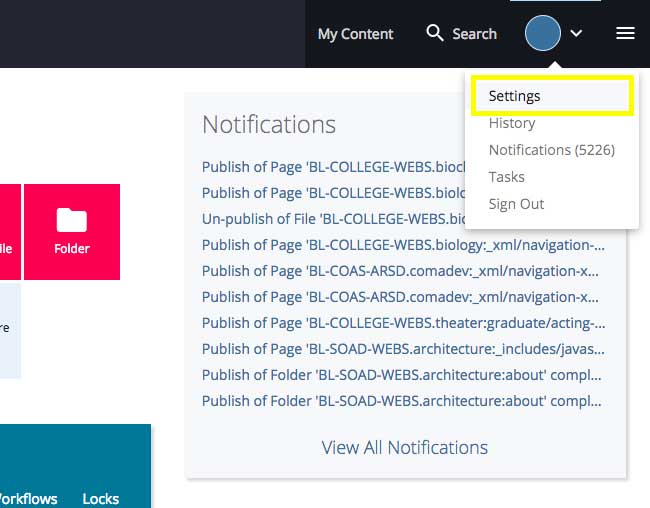
Step 5
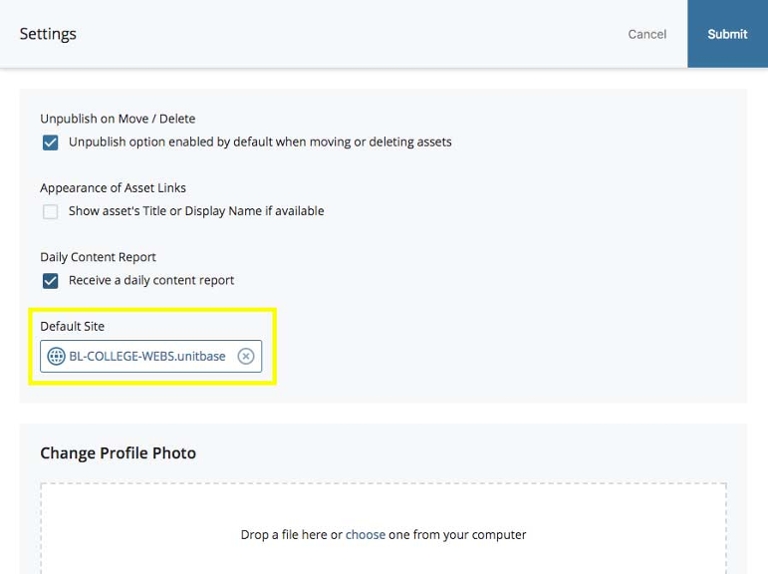
Optional: Setting your default website
Click on the circle icon at the top right of the screen. In the drop-down menu that opens, pick "Settings."
Step 6
Click on the Default Site option.
Step 7
Click on the button with the globe icon (highlighted below) to find the website you want to be directed to each time you sign in to the WCMS.
Step 8
Click on the website and click Submit. Now, every time you sign in to the WCMS, you will be directed to the Default Site you chose.
 The College of Arts