

This tutorial is part of a series of training materials. Visit the table of contents for more tutorials.
Building an Email Invite
Step 1
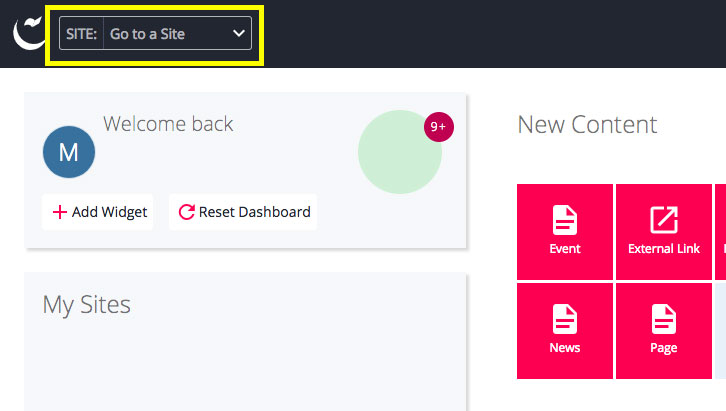
To find the email management system, go to the gray dropdown at the top of the page and select the email that pertains to your unit.
Step 2
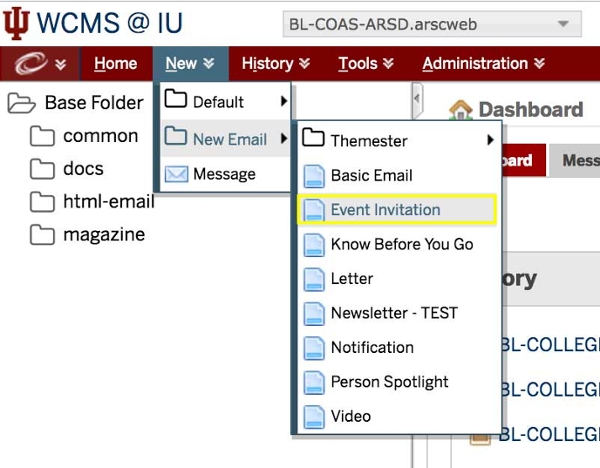
Click on "New" and select "New Event Email."
Step 3
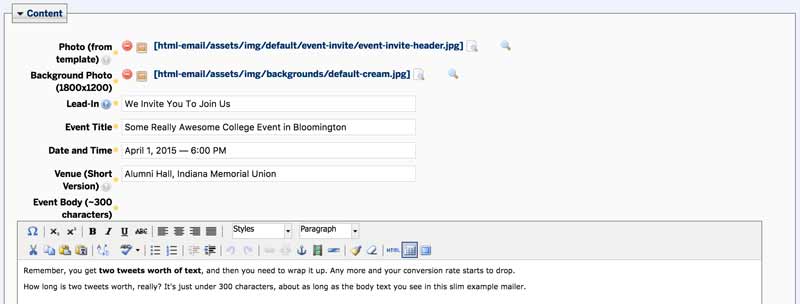
- Add your "Lead-In" text. Lead-In text is appears in a smaller lighter font above the title. You can use it to say something like "We invite you to join us" or it can be used to call out an event like "Themester Lecture Series."
- Add the "Title" of the event.
- Add the "Date and Time" of the event. The date and time is a free text field so which ever format works best for your event.
- Add a short version of the "Venue." You don't need to add the street address.
- Add a short message that gets people excited about your event.
We find that event invitation emails are most successful when we keep the emails short and sweet and we put the meatier details on a landing page on our website.
Step 4
Add a "Call to Action Button." Add a brief but descriptive message. You can add the URL to your event landing page on your website in the URL field.
- Example: Come to our great party

Step 5
Hit "Submit" to save your changes and view your email.
 The College of Arts