

This tutorial is part of a series of training materials. Visit the table of contents for more tutorials.
Building a Basic Email
Step 1
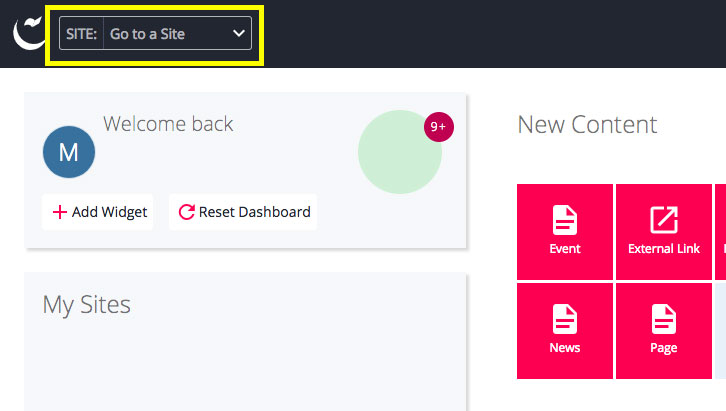
To find the email management system, go to the gray dropdown at the top of the page and select the email that pertains to your unit.
Step 2
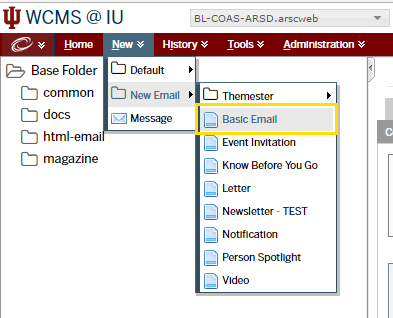
Click on "New" and select "New Basic Email."
Step 3
Add a system name that you can recognize later.
Step 4
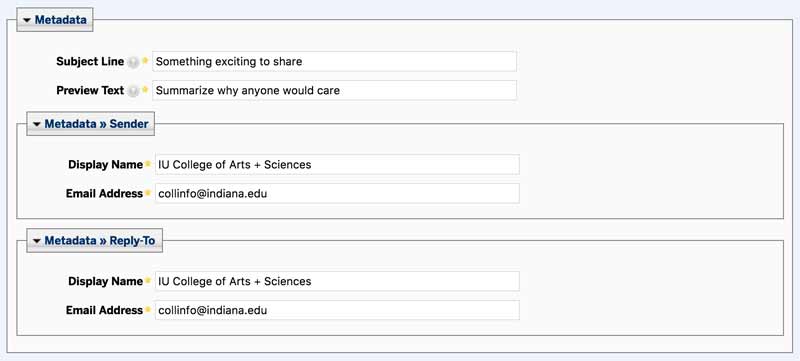
Add your Subject Line, From Name, From Email, Reply-To Name, and Reply-To Email.
- These are optional. They won’t show up in your email, but may help if someone else needs to works on your email.
Step 5
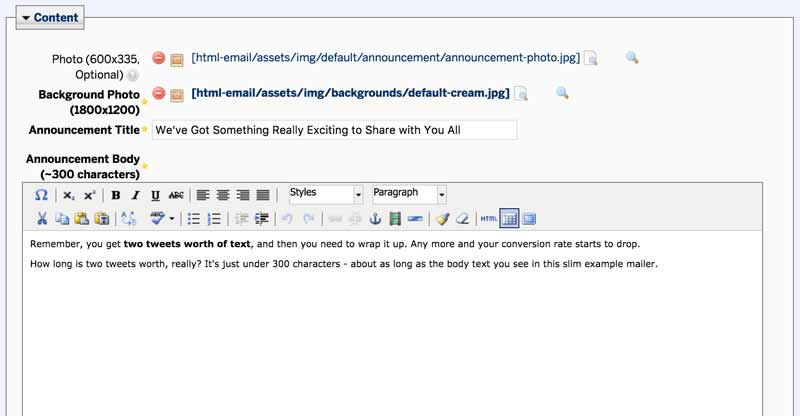
Select your header image.
- Your copy of the email builder will have come with a Photoshop template that you can use to build your own header images.
Step 6
Add your title and content.
- We suggest you keep your email text to around 300 characters. This is about as much text you can get away with without people wandering away.
Step 7
Add your "Call to Action Button." "Label" refers to what text shows up on the button. URL is the web address that the button links to.

 The College of Arts